Top 10 Spring Nail Art Designs You Can Do at Home (Easy & Trendy)
Disclosure: This post may contain affiliate links, meaning I get a commission if you decide to make a purchase through my links, at no cost to you.
Spring is finally here, and there’s no better time to refresh your manicure routine with fun, colorful nail art! Whether you’re a nail art newbie or a seasoned pro, these ten spring nail designs are simple, stylish, and can be done right at home. Below, you’ll find everything from pastel rainbows to chic florals, plus a list of must-have tools and products.
1. Pastel Rainbow Tips
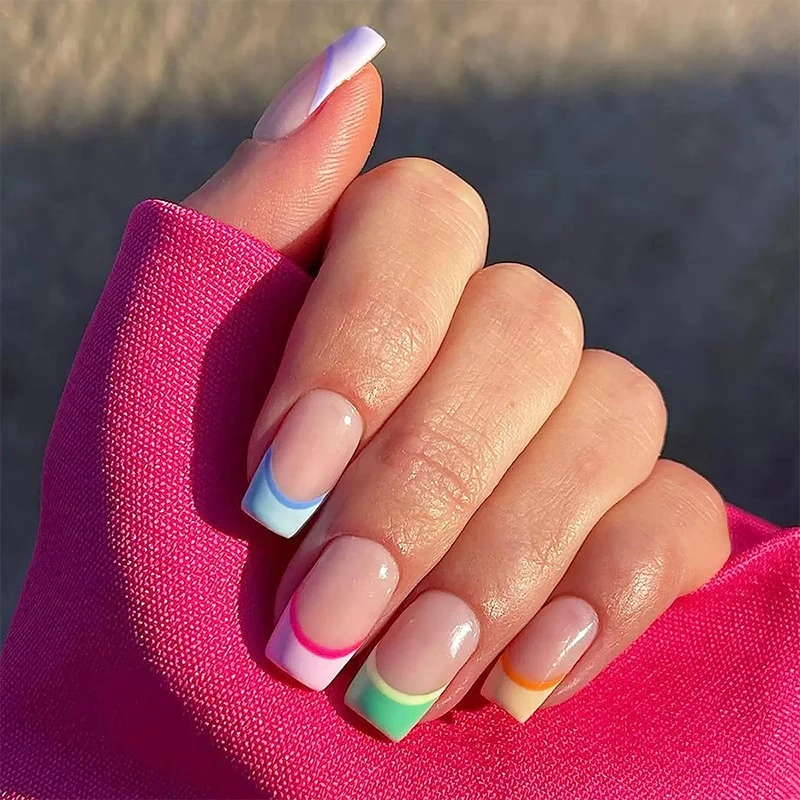
If there’s one color palette that screams “spring,” it’s pastels! Give each tip of your nails a different pastel shade—pink, lavender, mint, peach, and baby blue. This look is super playful and works on any nail length.
- Tools You’ll Need: Spring Nail Polish Set, nail file, top coat.
- Tip: If you’d like more coverage, apply two thin coats of each color and then seal with a clear top coat.
2. Floral Accent Nails
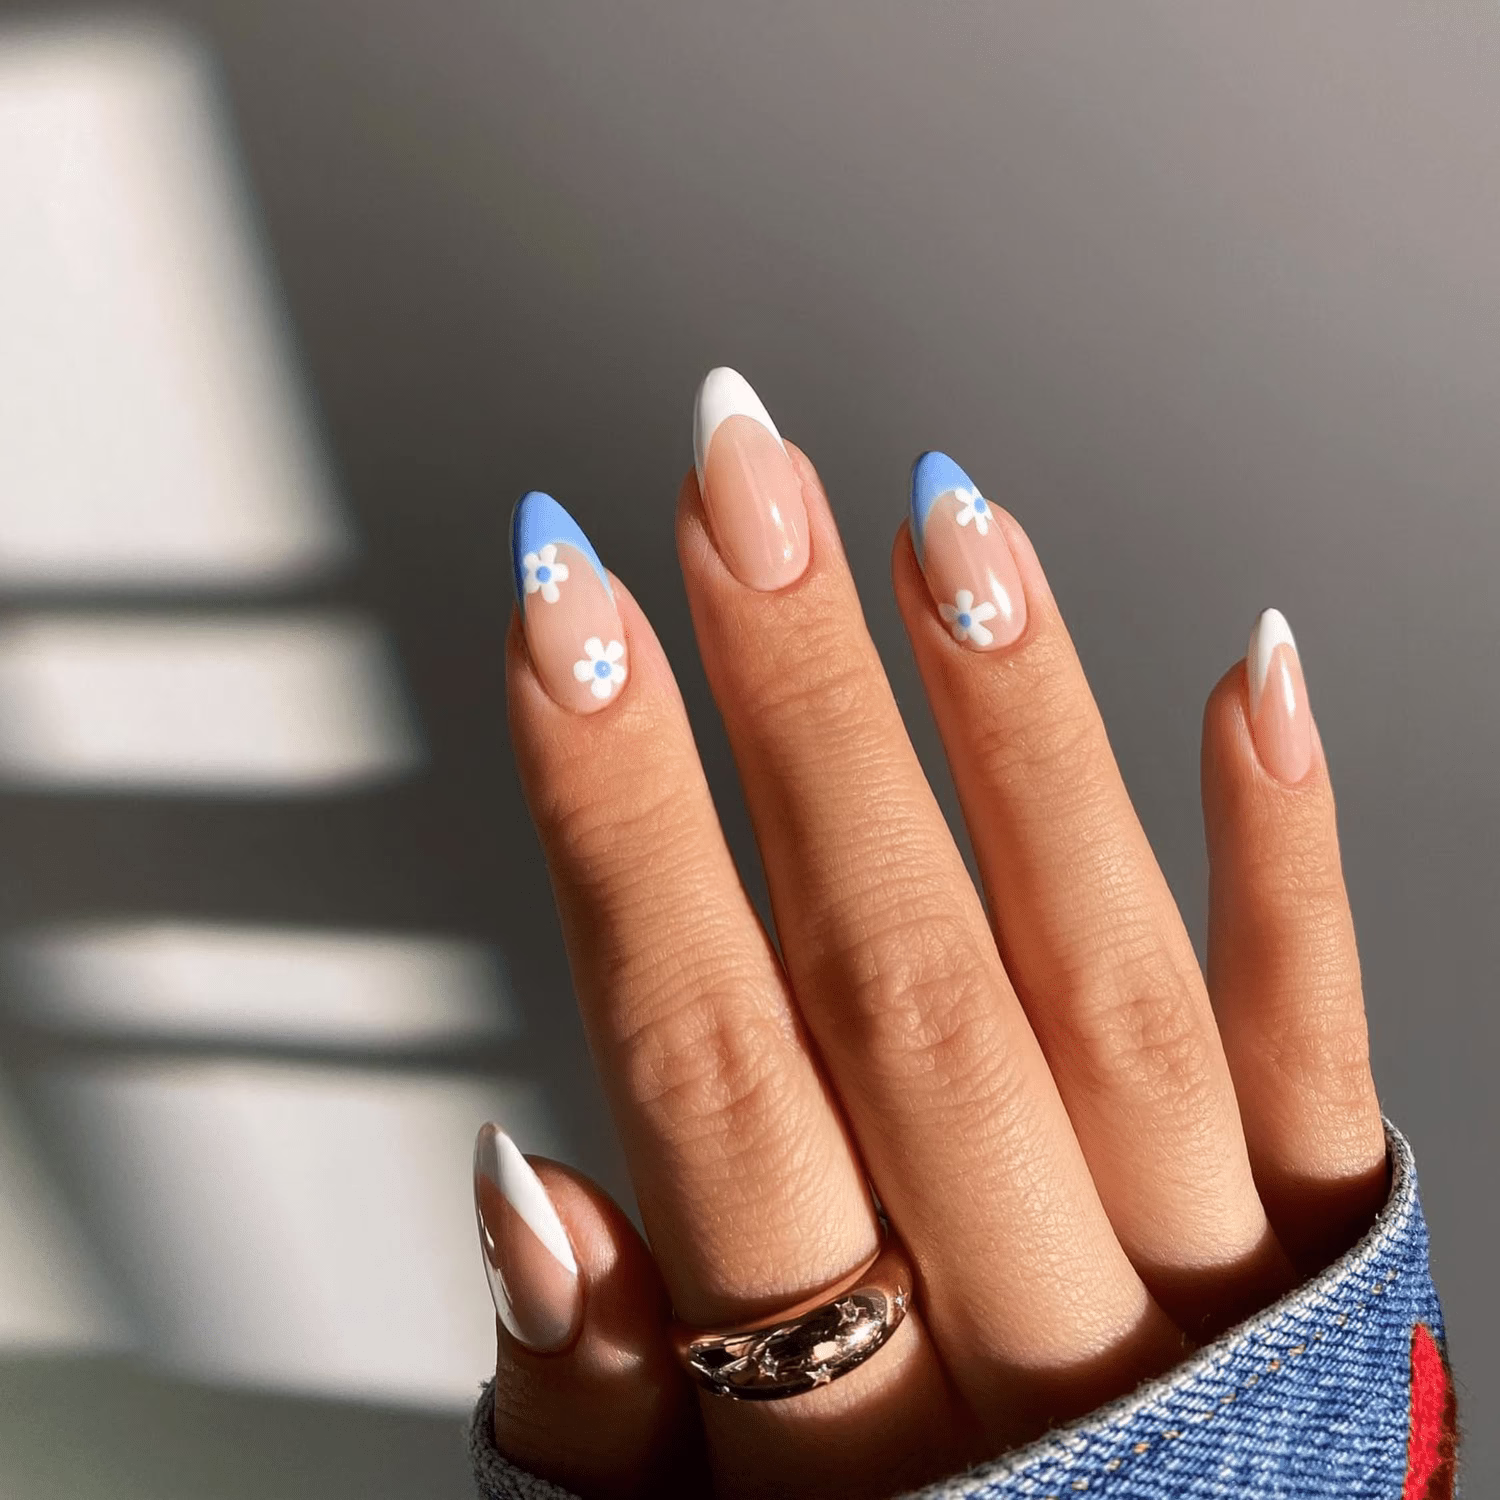
Celebrate blooming flowers by adding tiny daisies, roses, or other floral patterns to one or two accent nails. This can be done with nail stamping plates or a simple dotting tool to create petals.
- Tools You’ll Need: Pastel or nude base polish, Nail Stamping Plates (Spring Flowers Collection), Makartt Nail Art Brushes and Dotting Tools.
- Tip: Use a contrasting color for the flowers to ensure the design pops.
3. Soft Ombré Nails
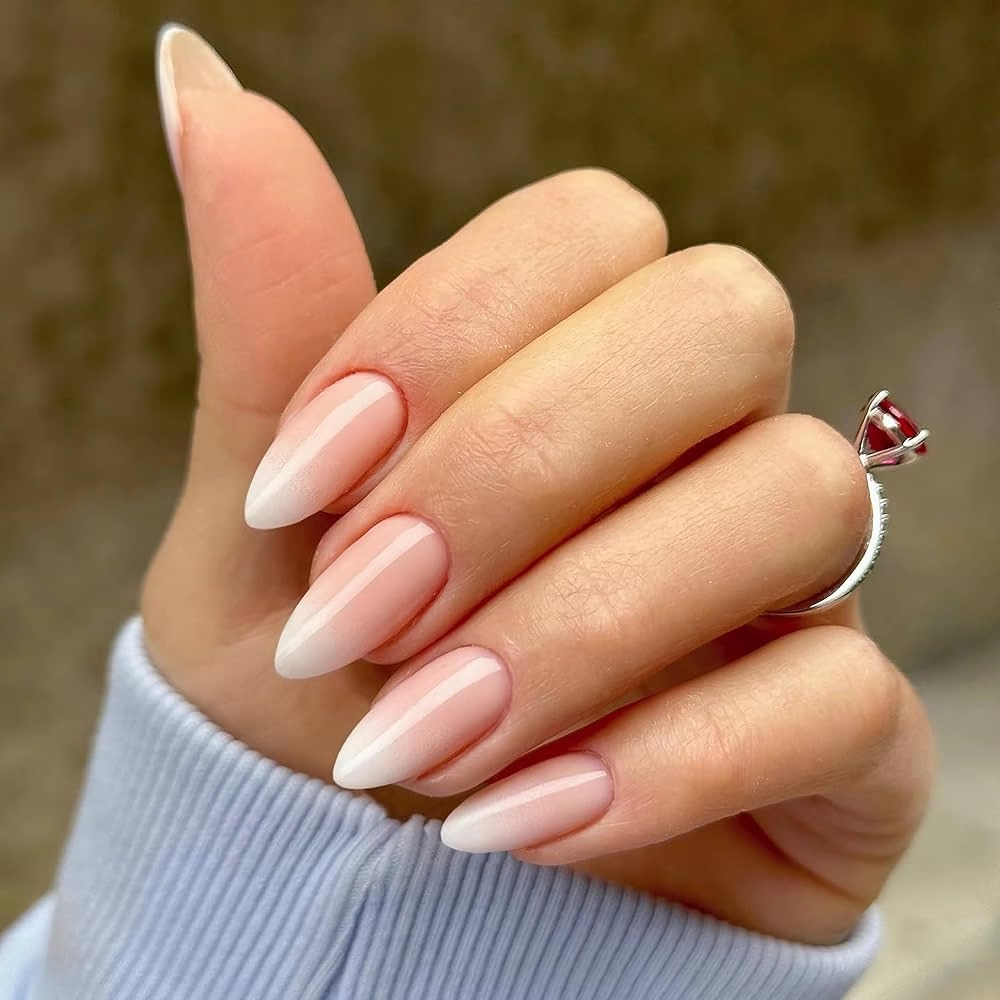
Create a gradient from a light pastel shade to a slightly darker shade on each nail. Sponge on the second color from the tips toward the center for a dreamy, faded look.
- Tools You’ll Need: Two coordinating pastel polishes, makeup sponge, clear top coat.
- Tip: Protect the skin around your nails with tape or liquid latex for easy cleanup.


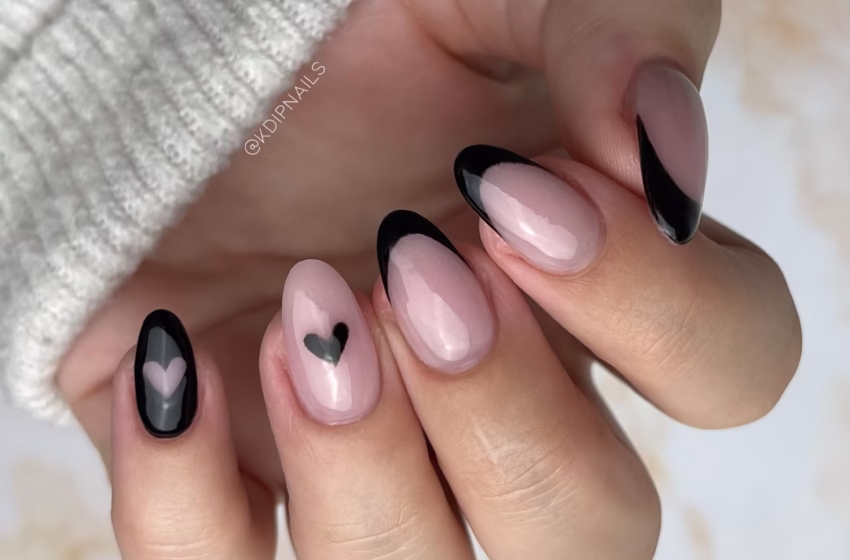
4. Negative Space Mini Hearts
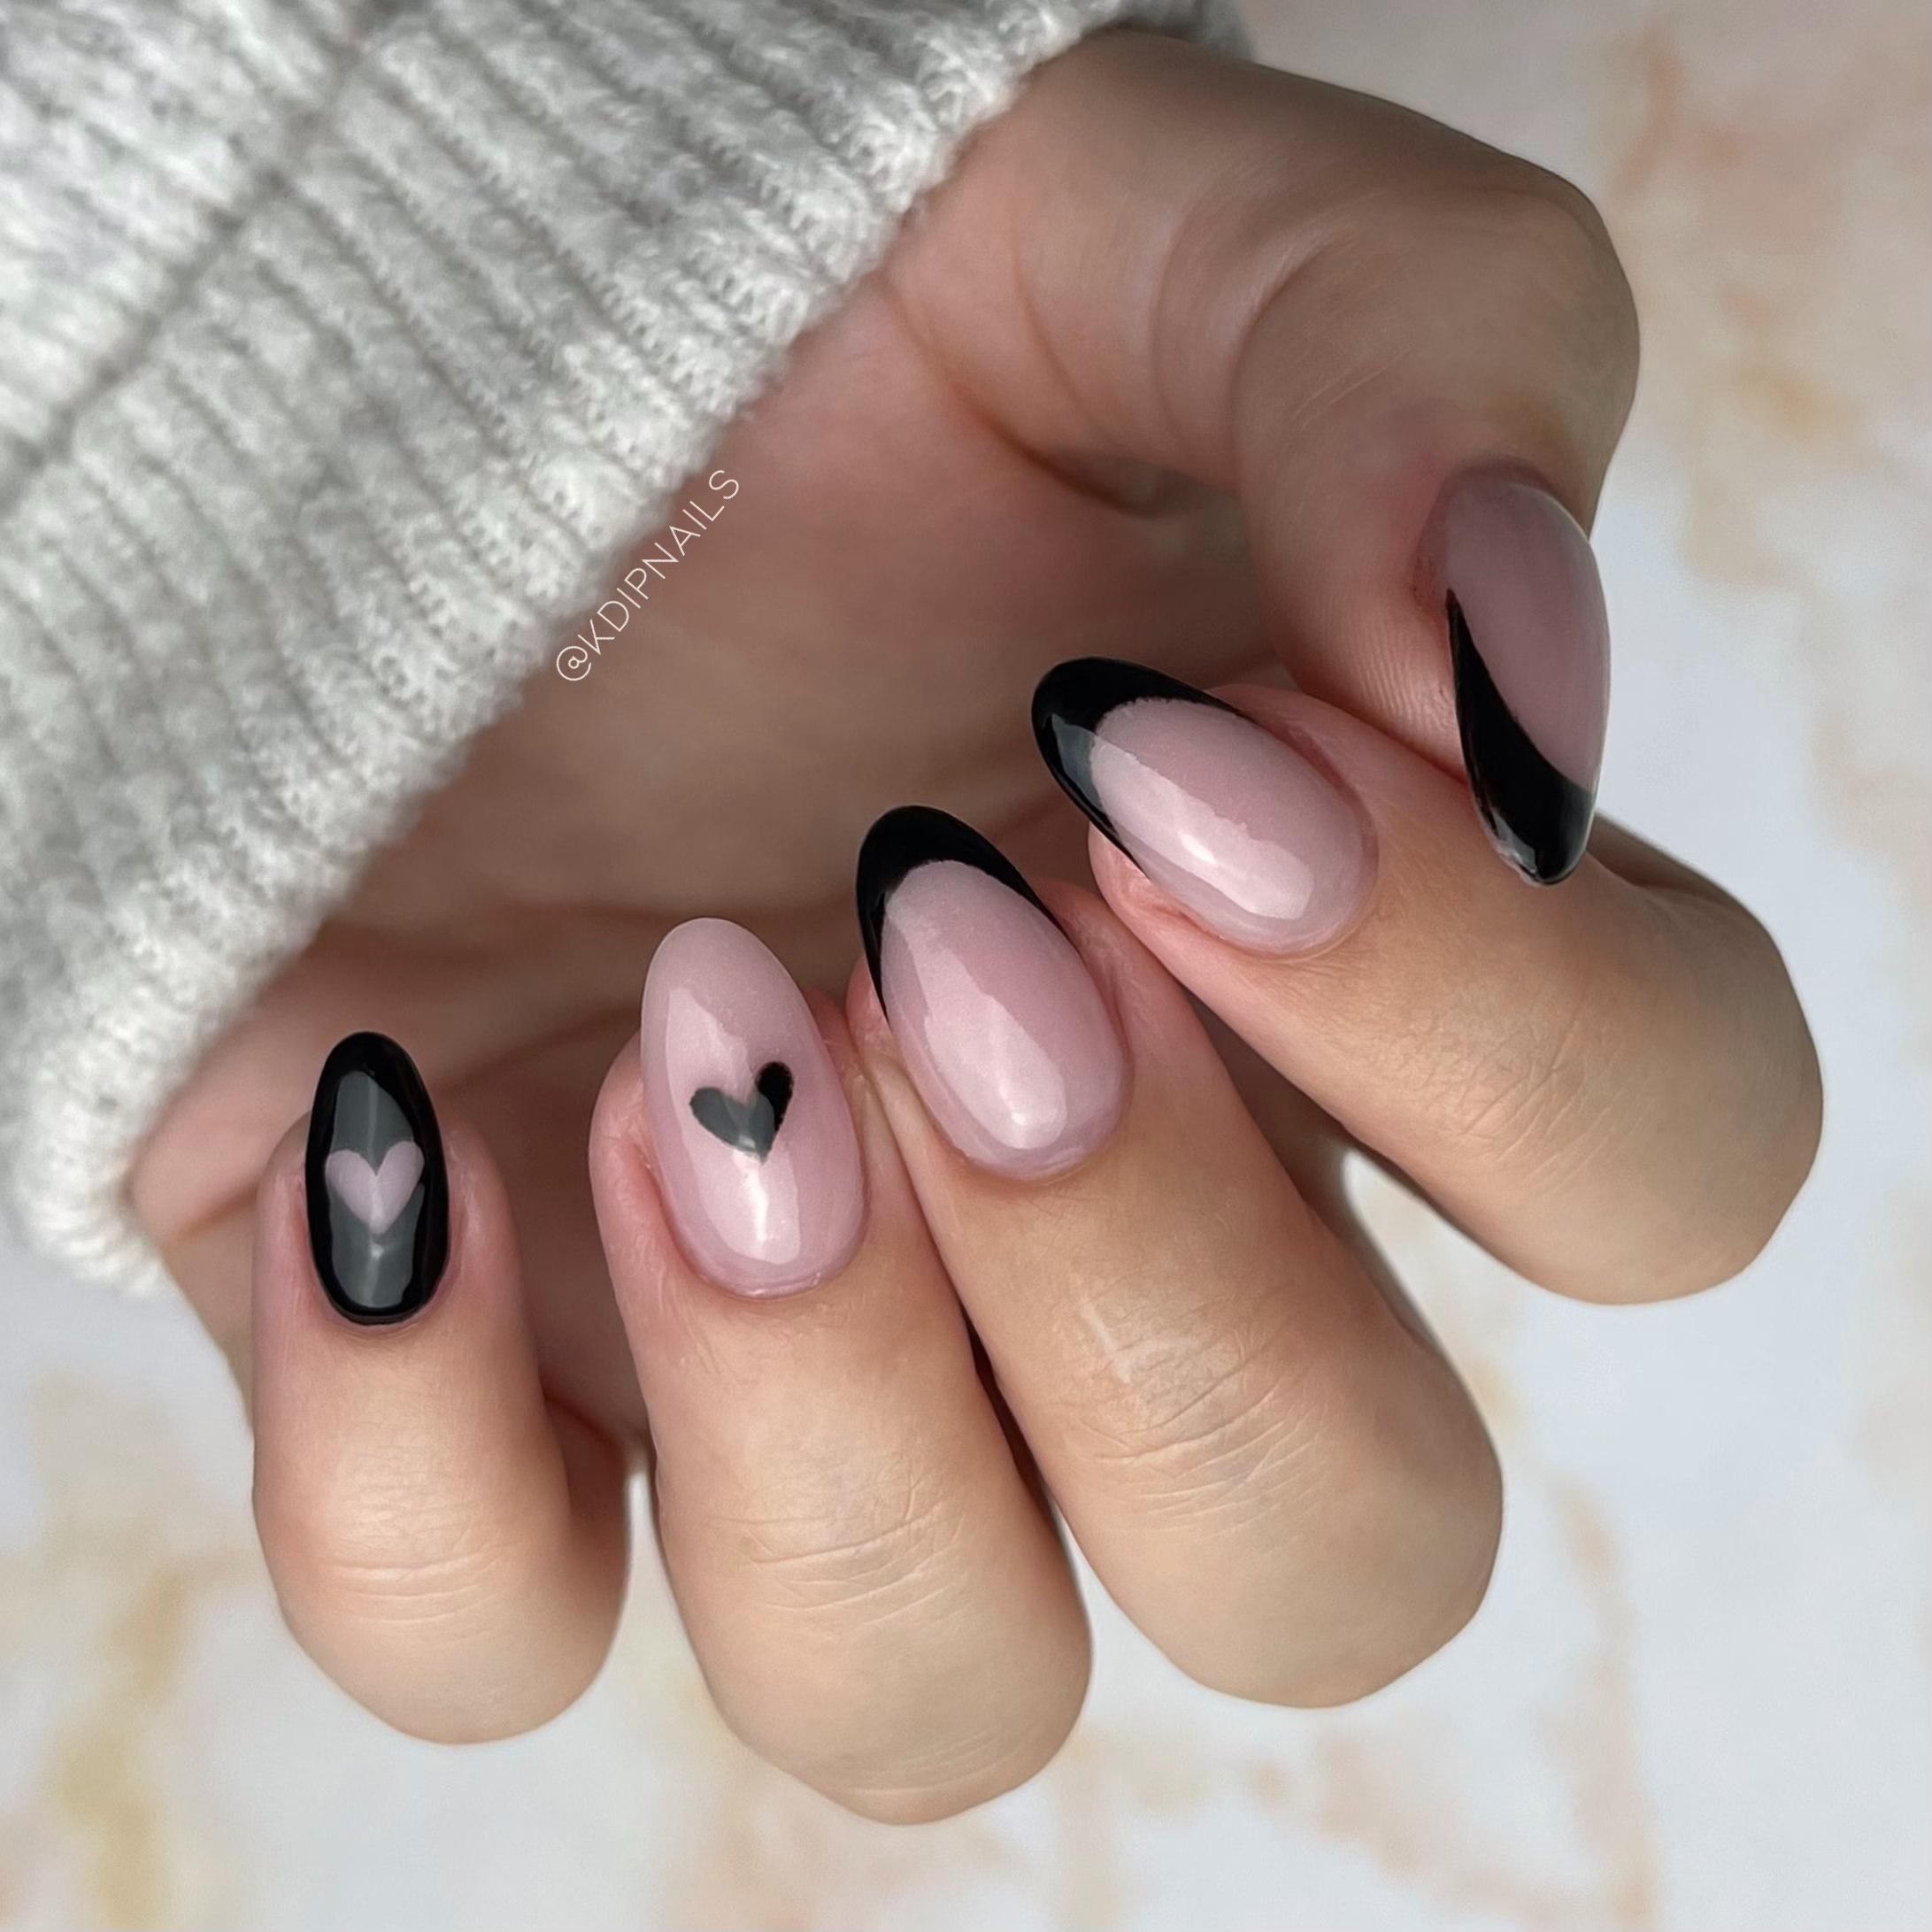
Leaving parts of the nail unpolished (negative space) can be eye-catching. Paint tiny hearts near your cuticle or on the tips, and keep the rest of the nail clear.
- Tools You’ll Need: OPI Spring Nail Polish Set (choose one or two shades), thin nail art brush.
- Tip: For extra shine, use a gel top coat and cure under a UV or LED lamp.
5. Foil Flakes for a Metallic Pop
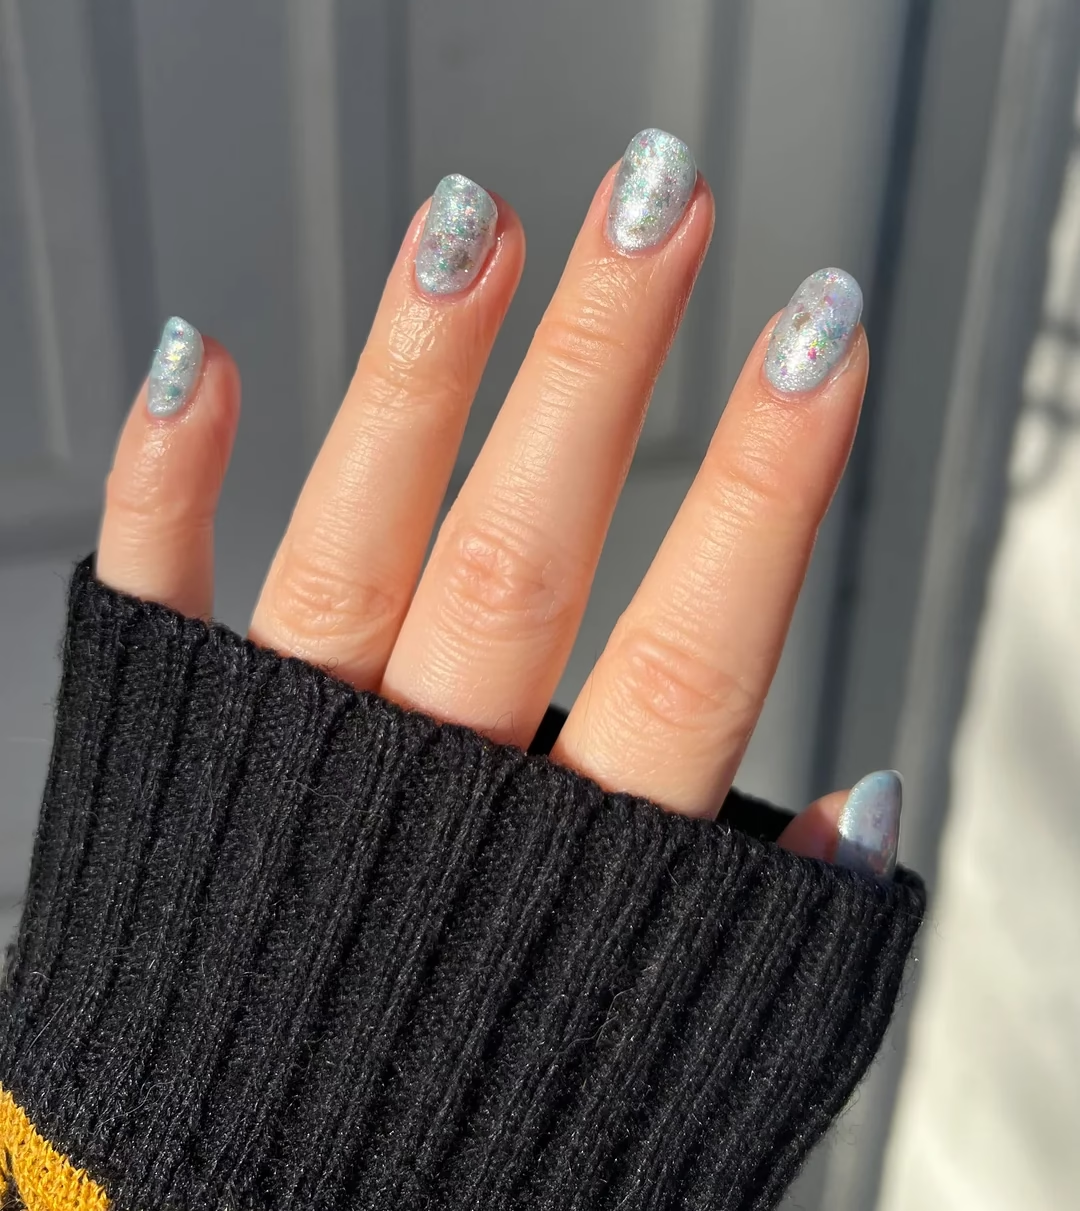
Add a little sparkle to your spring look by pressing metallic foil flakes onto one or two nails. The combination of pastel polish with a gold or rose gold foil accent is chef’s kiss.
- Tools You’ll Need: Pastel nail polish, Nail Foil Flakes (Mixed Colors), top coat or foil glue.
- Tip: Gently press the foil onto semi-dry polish, then seal it with a protective clear coat.
6. Polka Dot Paradise
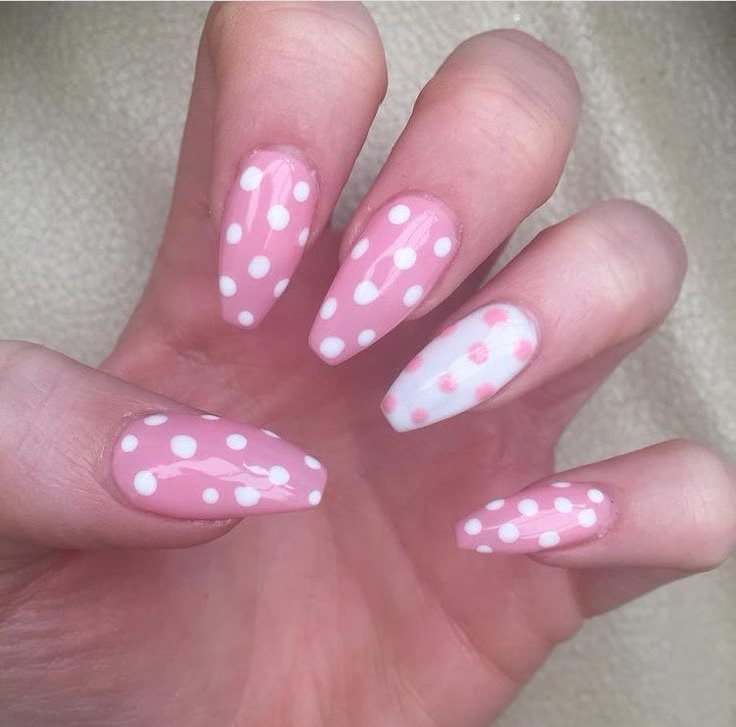
Polka dots are quick, easy, and perfect for spring. Paint your nails a soft pastel base, then use a dotting tool to create small dots in a contrasting color.
- Tools You’ll Need: Gel Polish Kit (Pastels Collection), dotting tool.
- Tip: Start with fewer dots and add more as you go. Overcrowding might make your design look muddy.
7. Subtle Glitter Gradient
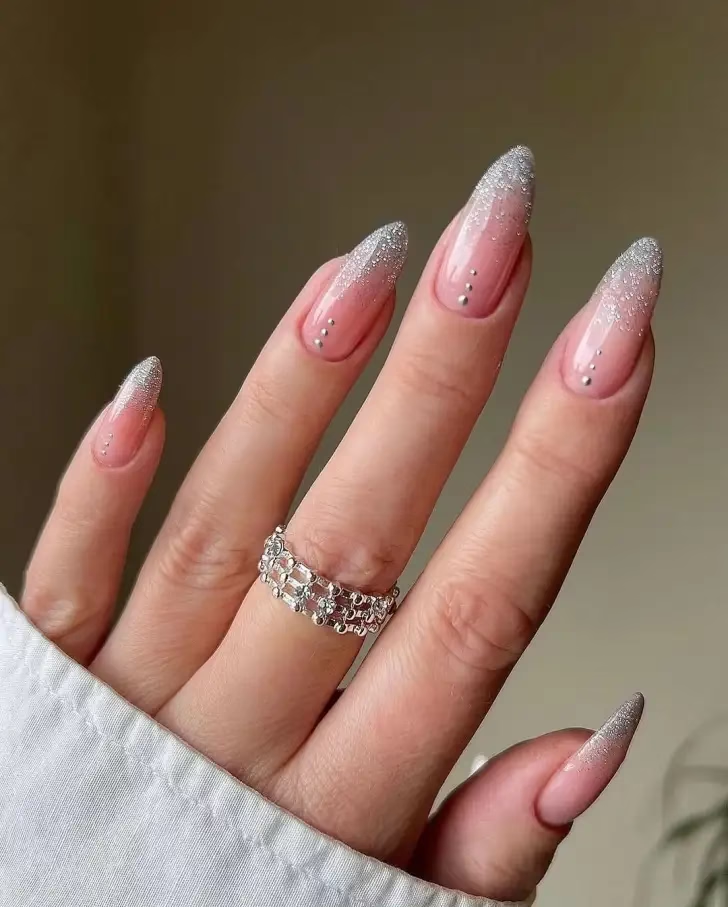
For a dash of glam, brush some glitter polish from the midpoint of the nail up toward the tip, creating a glitter “fade.” Use a fine glitter for a more sophisticated look.
- Tools You’ll Need: Base color polish, glitter polish, top coat.
- Tip: If you’re using gel polish, cure each layer under an SUNUV UV/LED Nail Lamp for a long-lasting finish.
8. Minimalist Lines

Sometimes less is more. Using a nail art brush, paint a thin diagonal or vertical line across each nail. This is simple yet classy, and you can choose any spring-friendly shade you like.
- Tools You’ll Need: Sheer nude base polish, Nail Art Brushes, contrasting pastel polish.
- Tip: Keep your hand steady by resting your elbow on a flat surface and move slowly.
9. Press-On Florals

If you’re short on time, press-on nails with spring designs are a lifesaver. Many sets already feature floral or pastel accents—just stick them on and go!
- Tools You’ll Need: Press-On Nails (Floral & Pastel Designs), nail file, cuticle pusher.
- Tip: Prep your nails properly by removing any oils, pushing back cuticles, and filing the surface gently for better adhesion.
10. Dainty Daisies

If you’re short on time, press-on nails with spring designs are a lifesaver. Many sets already feature floral or pastel accents—just stick them on and go!
For an ultra-girly vibe, paint tiny white daisies over a pastel base. Use a dotting tool to create the petals and a contrasting color for the flower center.
- Tools You’ll Need: Light pastel base, white nail polish, dotting tool.
- Tip: Place a small drop of polish on a piece of foil or plastic and dip your dotting tool for more control.
Essential Nail Care to Maintain Your Spring Mani
Before diving into nail art, it’s crucial to keep your nails healthy. Use a nail hardener if you’re prone to breakage, and finish every manicure with a nourishing cuticle oil. This will help prevent chipping and keep your nails looking salon-fresh.
Final Thoughts
From pastel rainbows to delicate florals, there are endless ways to bring springtime vibes to your manicure. Experiment with different colors and techniques to find your signature style. Don’t forget to snap some photos of your creations and share them on social media—your friends will be asking how you mastered these looks!
Which spring nail art design will you try first? Let us know in the comments below!